Blockchainizing Game via Unity (Android and WebGL) Overview.
Planning your Blockchain Game:
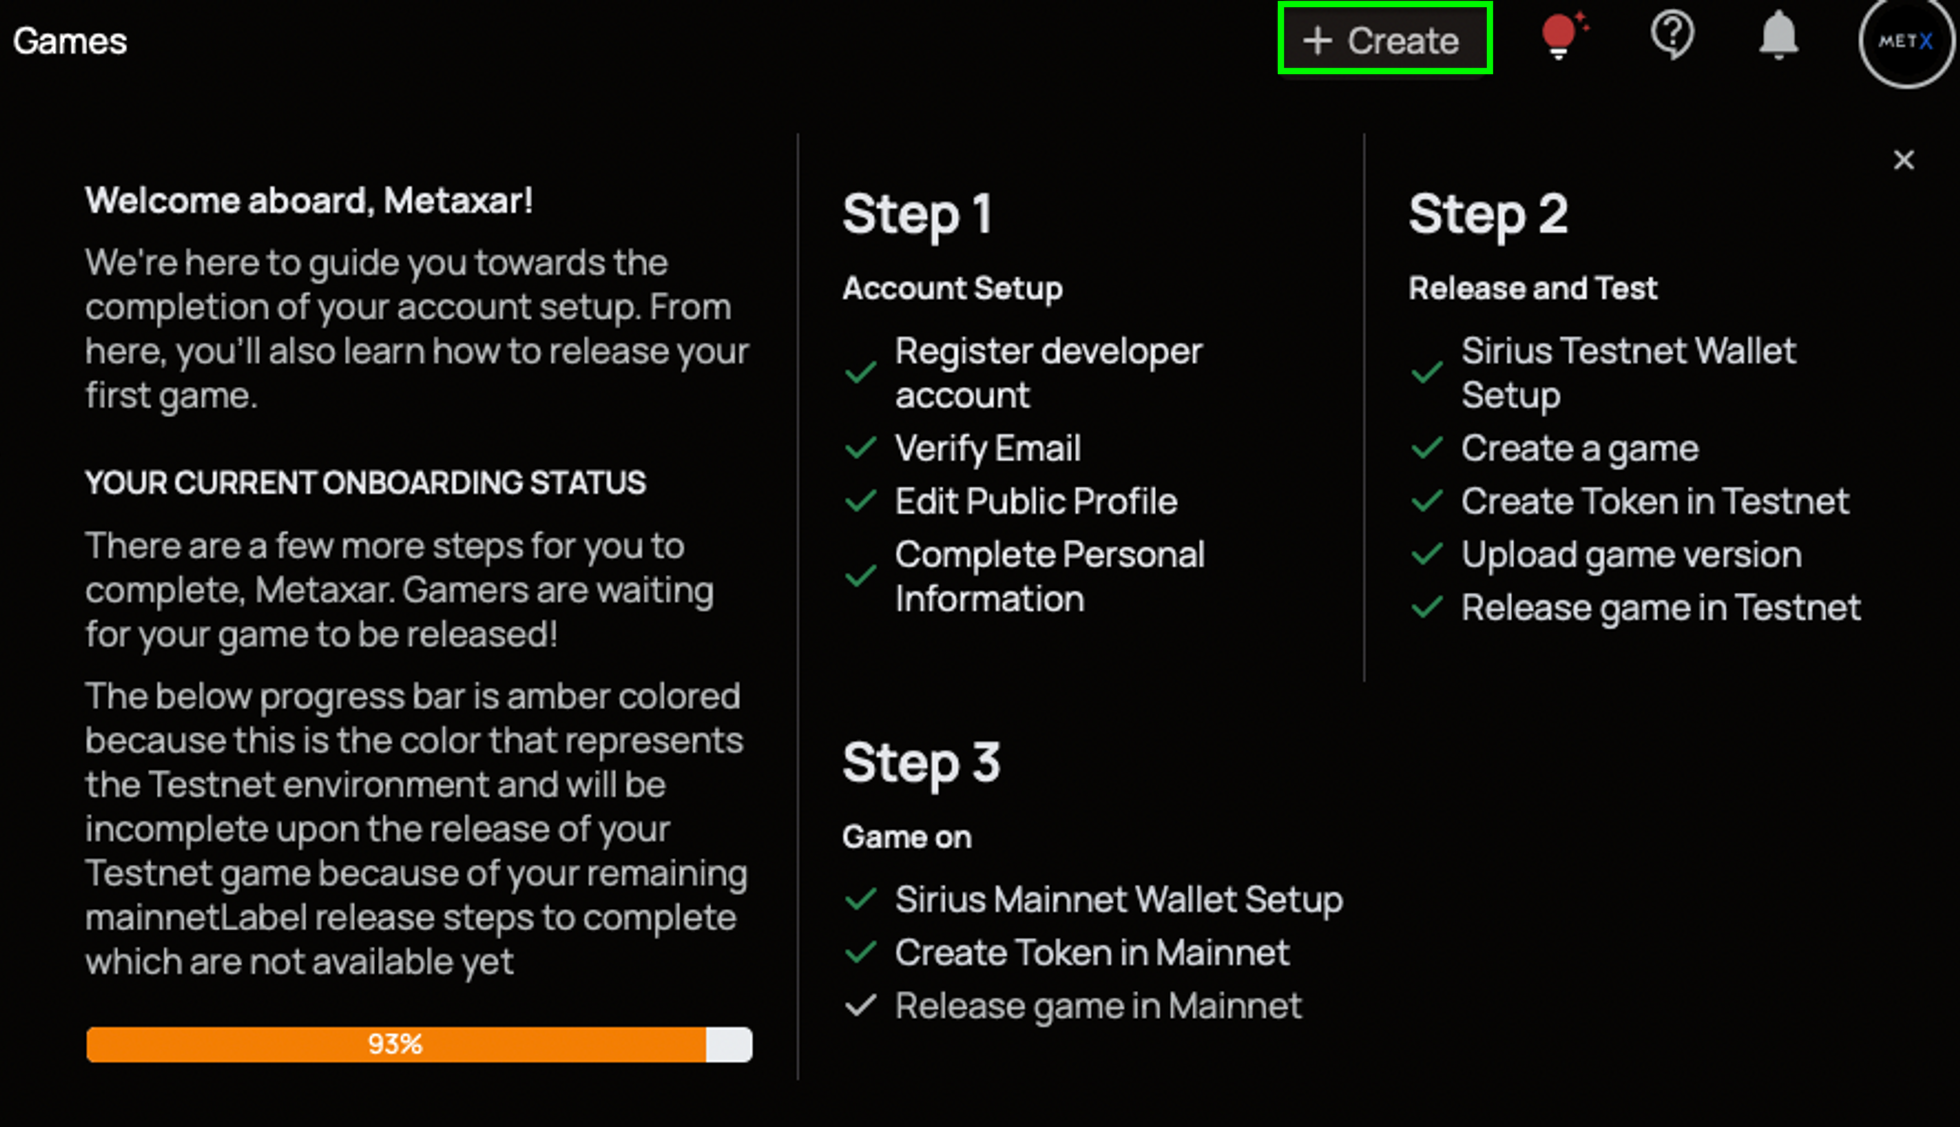
- You need to register as a developer in developer's dashboard . Press the red bulb icon for the onboarding checklist.
- After you have completed the create a new game and testnet token under step 2, you will have a new game id and testnet token id (reward for gamer) for the use of blockchain transaction.
- You need to think about database either to store player data internally or externally.
- You need do authentication as the auth is used to access all of the Wallet Autosigner API.
- You need to initialize the autosigner to get it running and generate bearer token to access all of the Wallet Autosigner API.
- You might want to think of ways to reward a gamer through your own creativity as a game developer.
- Follow the subsequent steps from Upload Game version of the Step 2.
Database
The database that can be used internally within the game is player pref. More info on Unity player pref.
The other option is by using Firebase to store player data externally. More info on Firebase.
You can have a set of parameters such as game score to record game score, userid to identify the user, claim transaction to detect or not the user have claimed token and transaction hash to keep track of success status of the transaction.
Security
To ensure that the transaction is done in safe and secure manner, the Wallet Autosigner API will require 2 input keys:
- Bearer token is produced by initialising the Wallet Autosigner. Keep this bearer token securely. More info on Wallet Autosigner initialization
- Auth obtained from login through the Gamer’s Dashboard either via WebGL or Android. This is linked to gamers session. More info on Auth
Auth via WebGL
The auth is obtained via the Iframe of the website. The auth will be an input parameter for making API call via the autosigner. WebGL Auth Reference
Auth via Android Deep Linking
For now, the authentication via android is through Unity deep linking. The deeplink will take the gamers into the gamers dashboard asking to login. After that, the gamer will redirected back into the game for gameplay getting auth from the url. The auth will be an input parameter for making API call cia the autosigner. Android Auth Reference
Autosigner API
All of the Wallet Autosigner API’s are here.
To start the autosigner, you need to download and initialize the Autosigner file at your local desktop. Refer here to download the autosigner.
To test the transaction without using real currency, use switch node API to switch node to testnet.
To obtain gamers info such as user name and user id for database keeping, we need to use:
- GetUser API.
To make transactions or reward gamers, there are 2 ways of doing this:
- Distribute Request (Gamer pays the transaction fee each time a transaction is made) (Recommended). The claim token hash expiration is in one hour time.
- AirDrop Request (Developer pays the transaction fee each time a transaction is made) (Take note that this is costly for Developer)
You can think of many different ways to reward gamers. It can be either collectibles collected, enemies killed, game score or even game level achieved. You can even reward the gamer only when they completed the game.
Claim Token
To reduce transaction fee, you do not need ot reward instantly during the gaming session. You can have a Claim Token button at the end or the menu of the game. This will only trigger a blockchain transaction upon clicking the claim token button.
To get Transaction Status, you need a transaction hash. This can be obtained from response body of the Distribute or Airdrop Token Request.