Testnet Game Profile
Let’s now add a game profile.
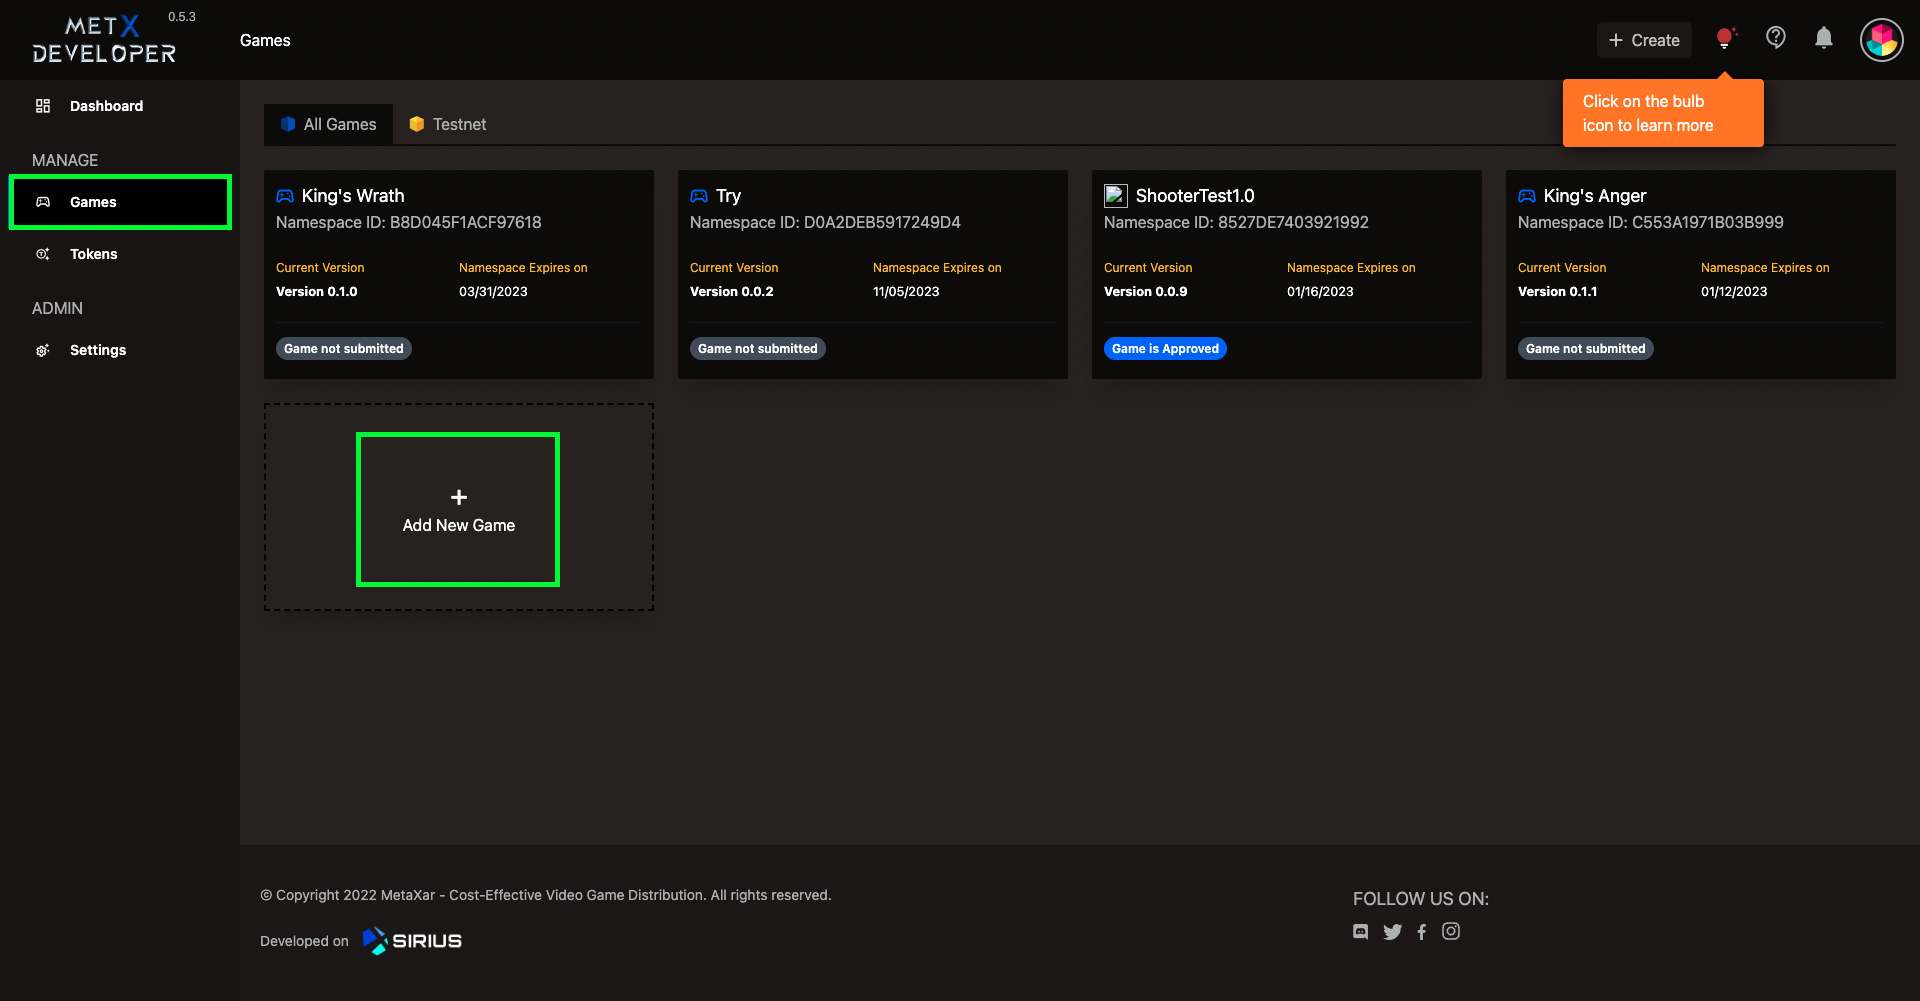
Step 1
- Select Games in the side menu.
- Select Add New Game.
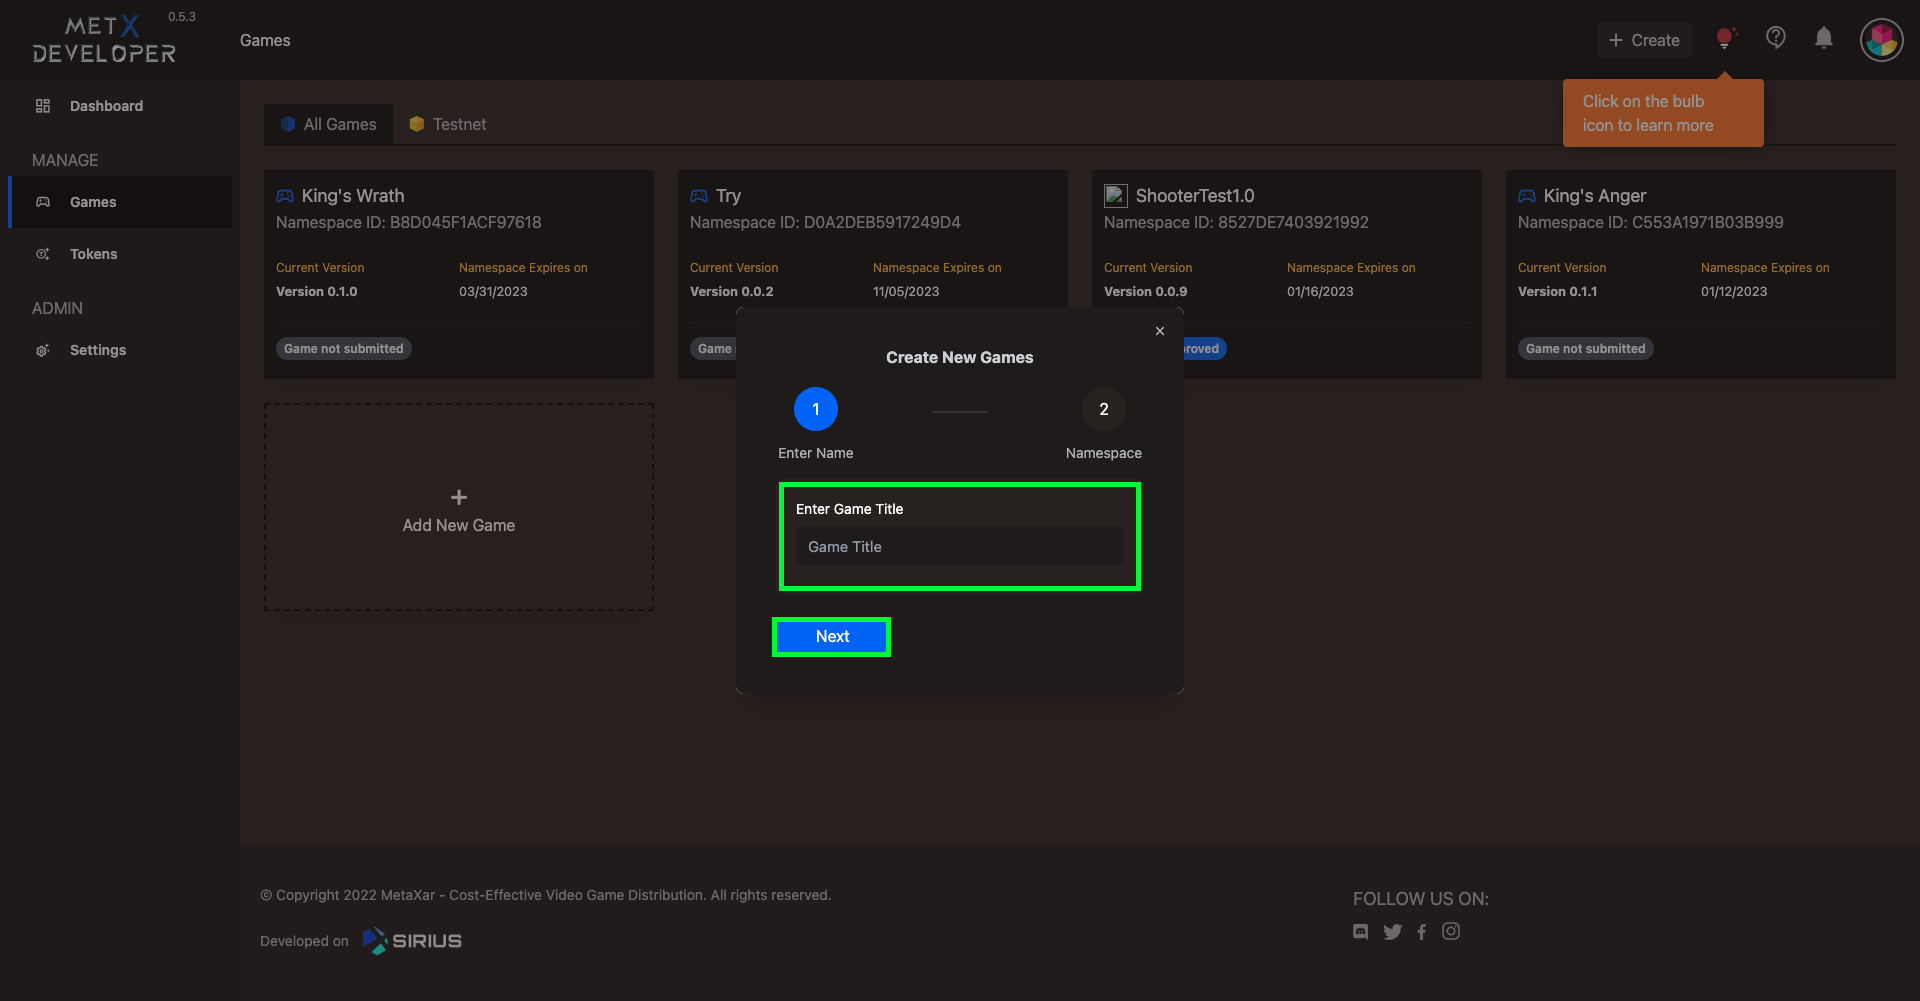
Step 2
- Enter Game Title.
- Select Next.
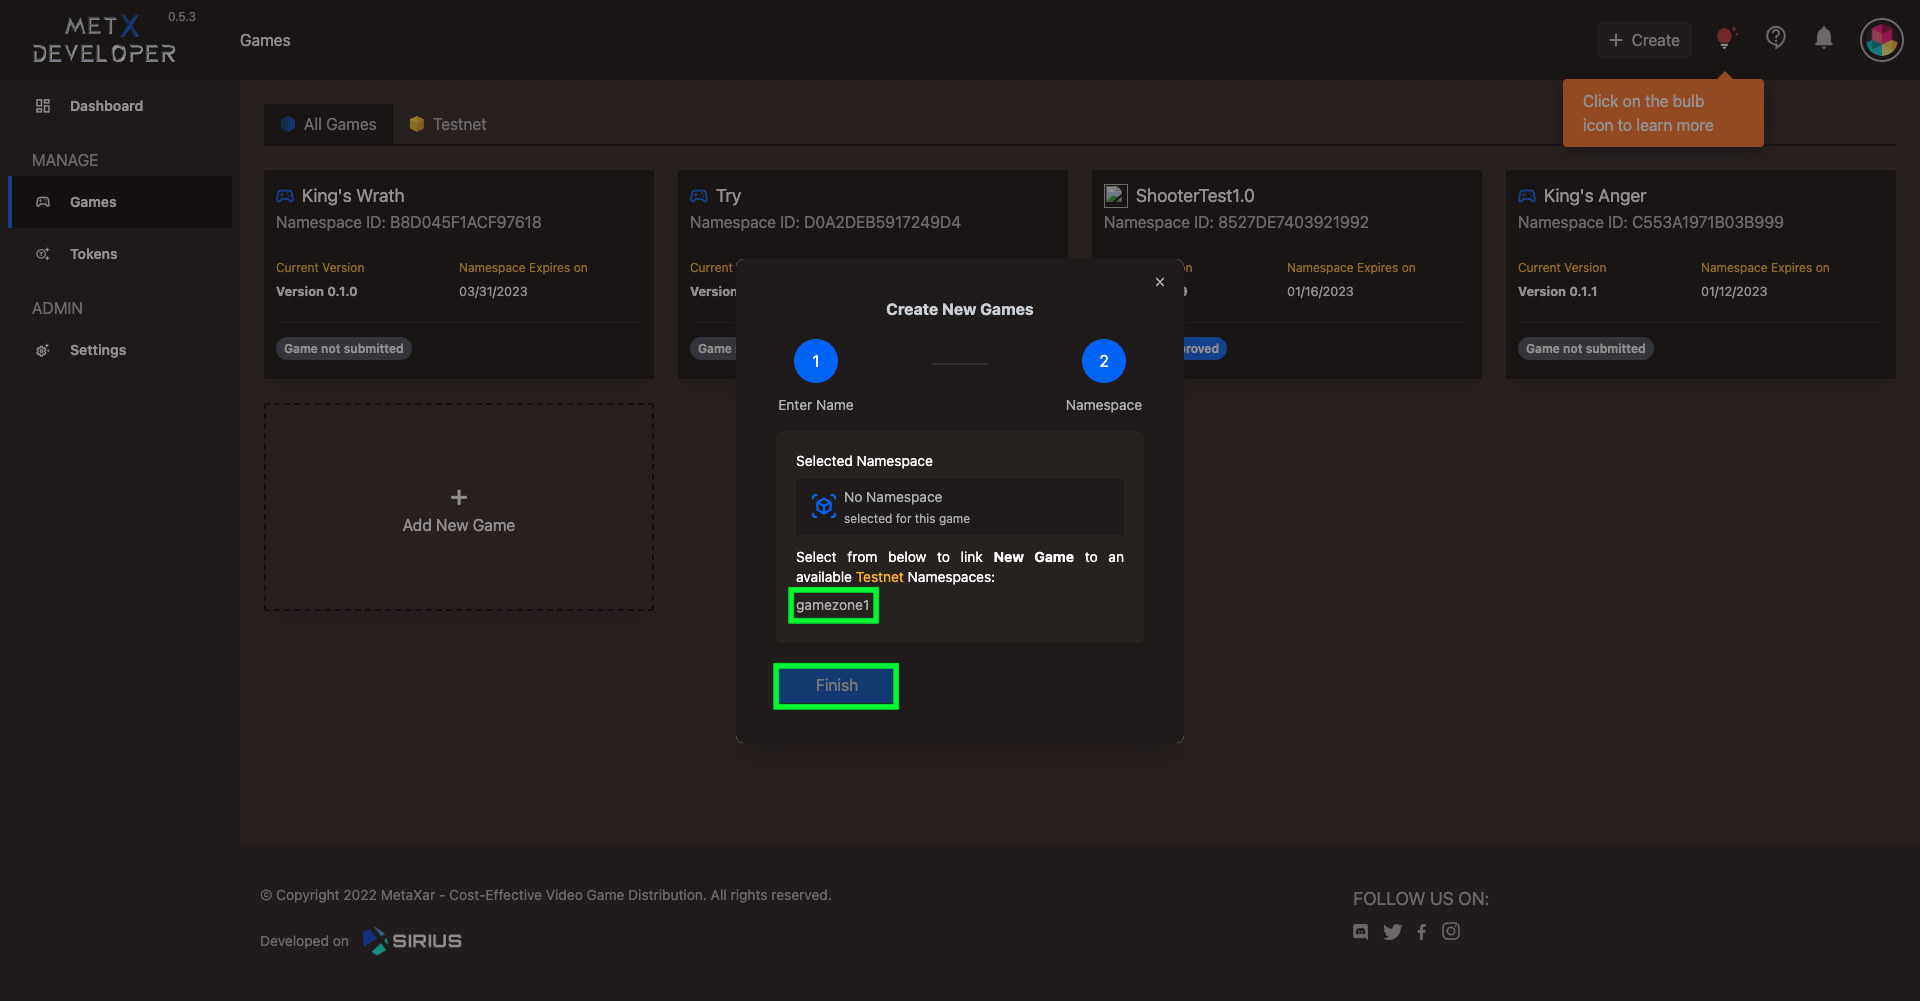
Step 3
- Select your created Namespace to link it to the game.
- From now on, you can scan QR to create new namespace directly on deveoper's dashboard.
- Select Finish.
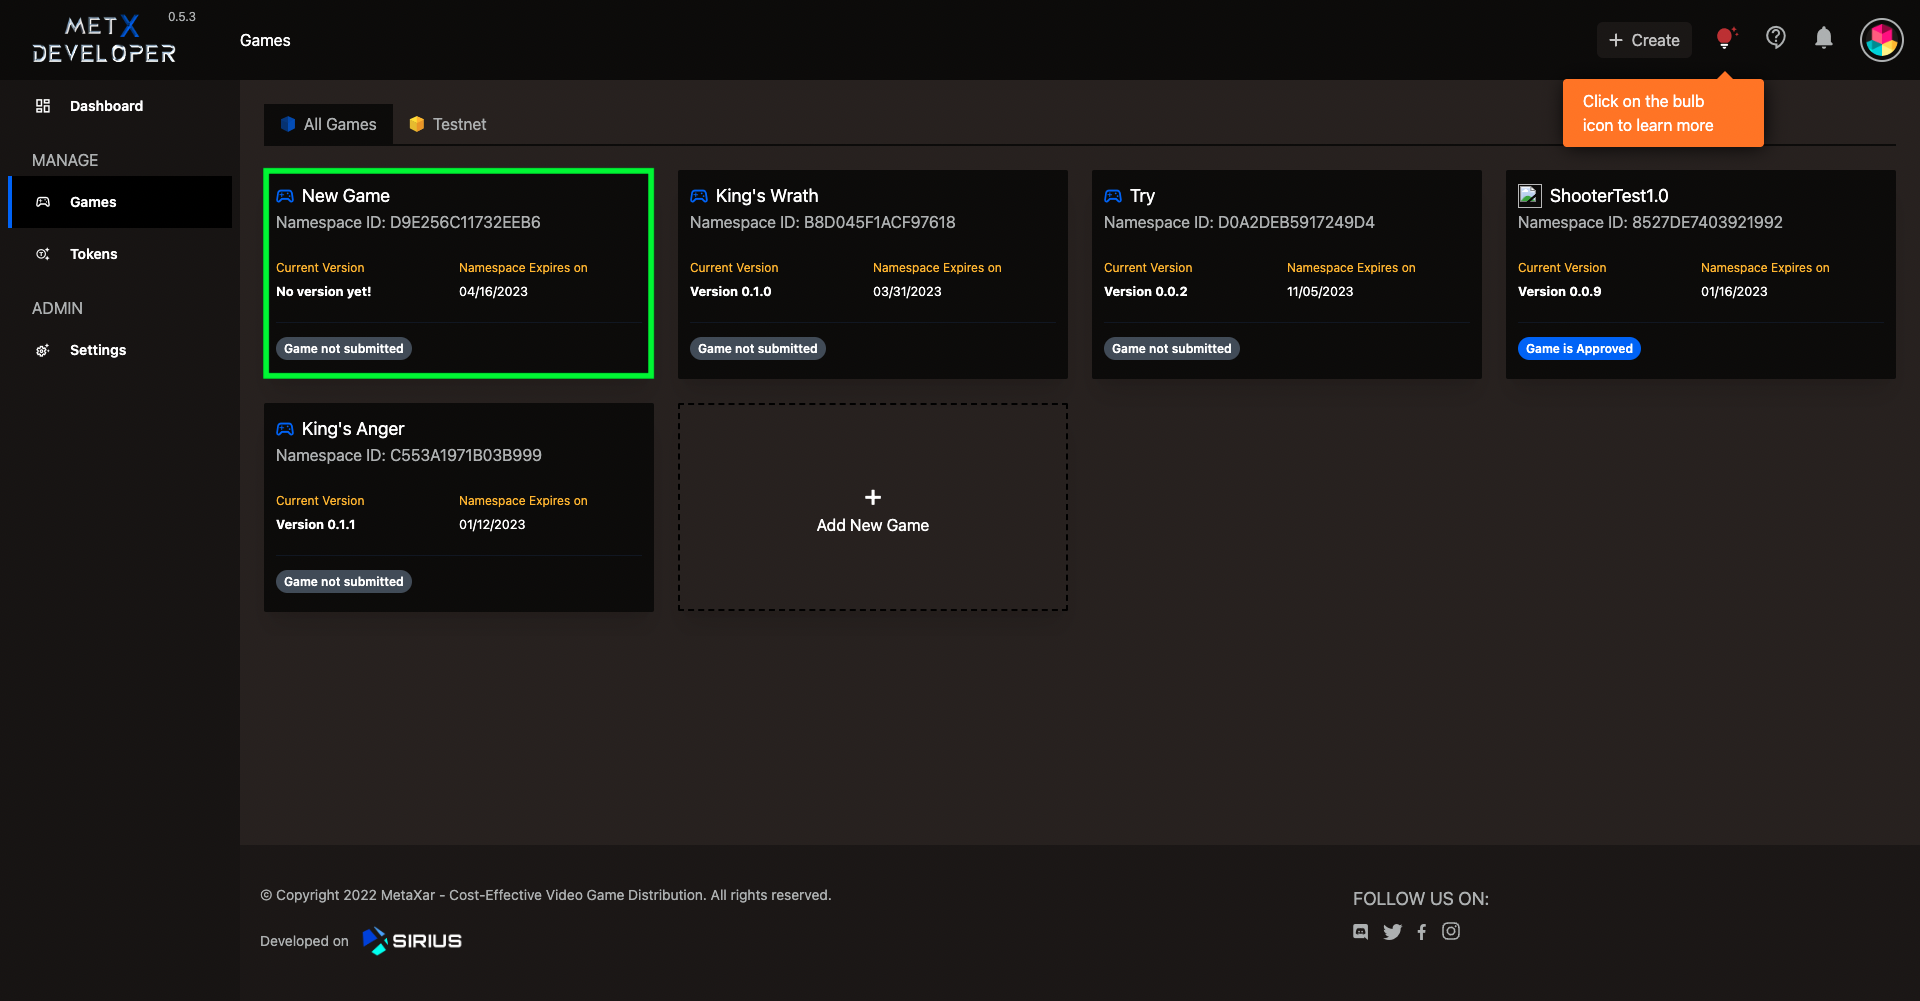
Step 4
- Select your game.
Step 5
Populate your public game page with information about your game:
- Upload a profile image by clicking on the profile photo camera icon.
- Upload a header image by clicking on Change Header Image.
- Select a Content Rating from the dropdown:
- General, or
- M18
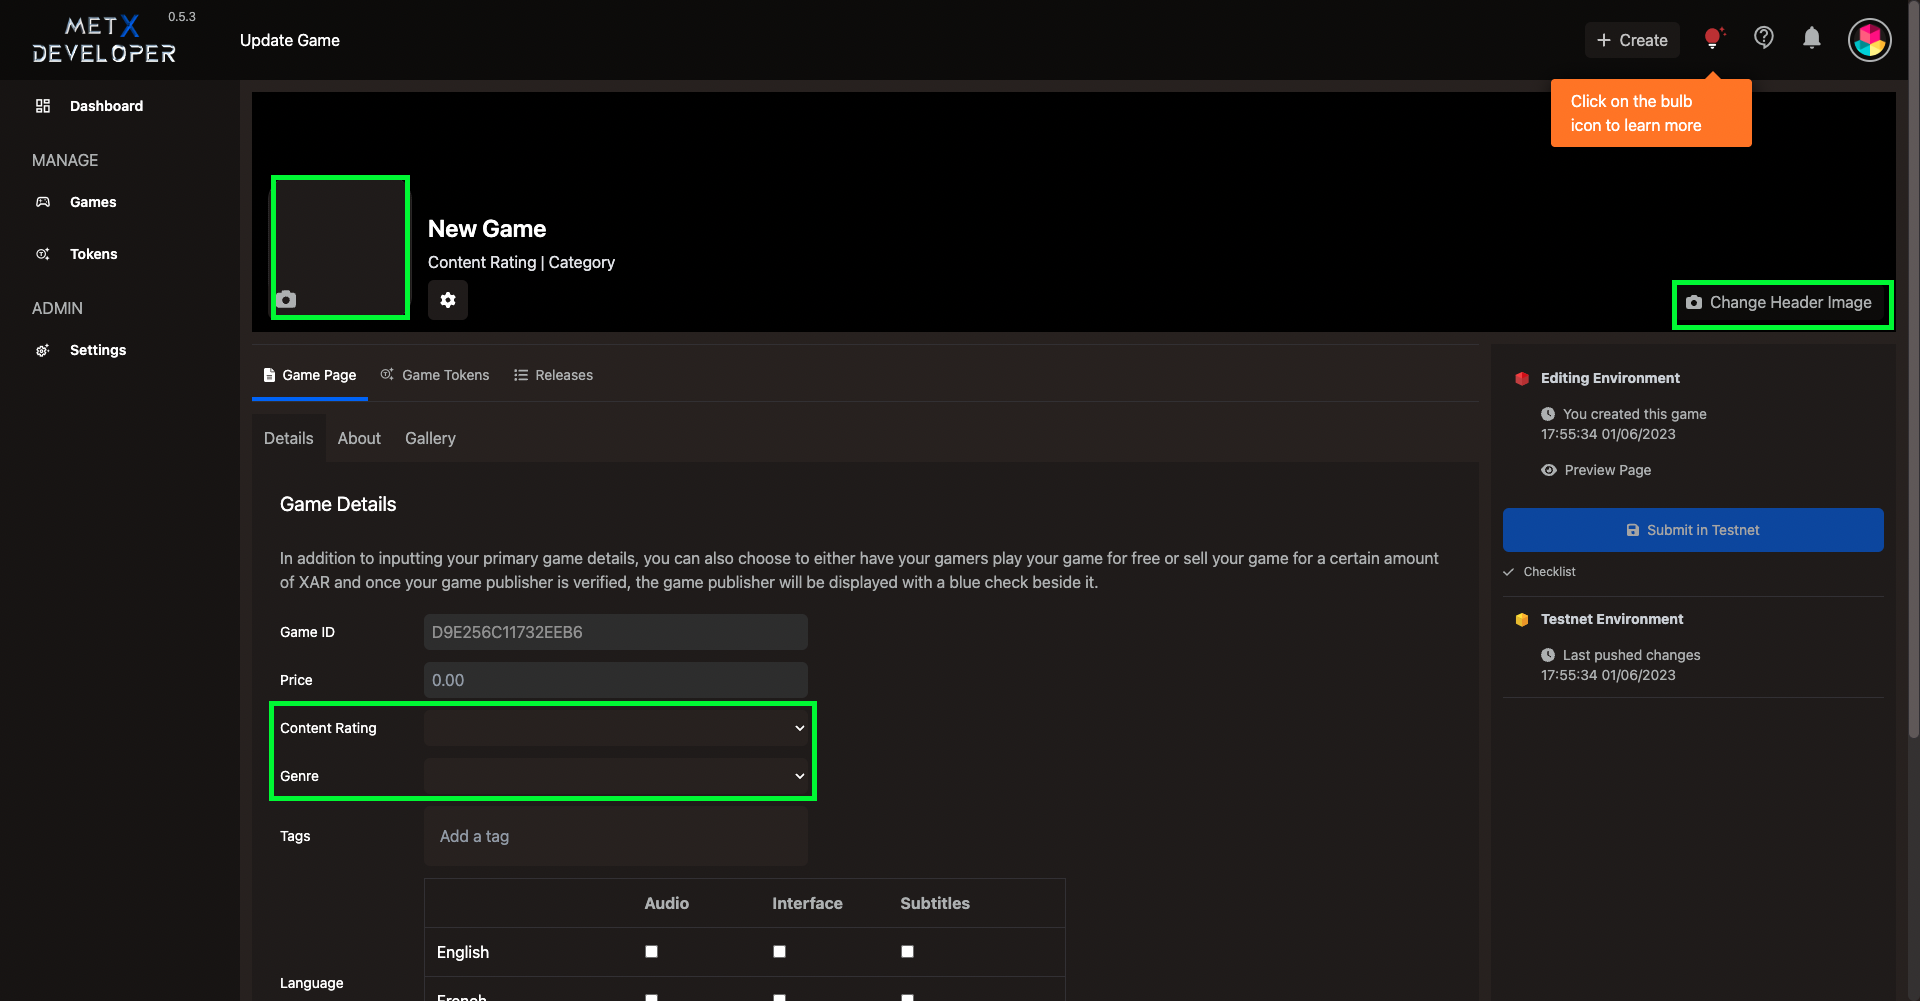
Step 6
- Select a genre for your game (e.g., Role-Playing).
- Enter Tags to make your game easily searchable by gamers.
- Select your game Language.
- Select Save.

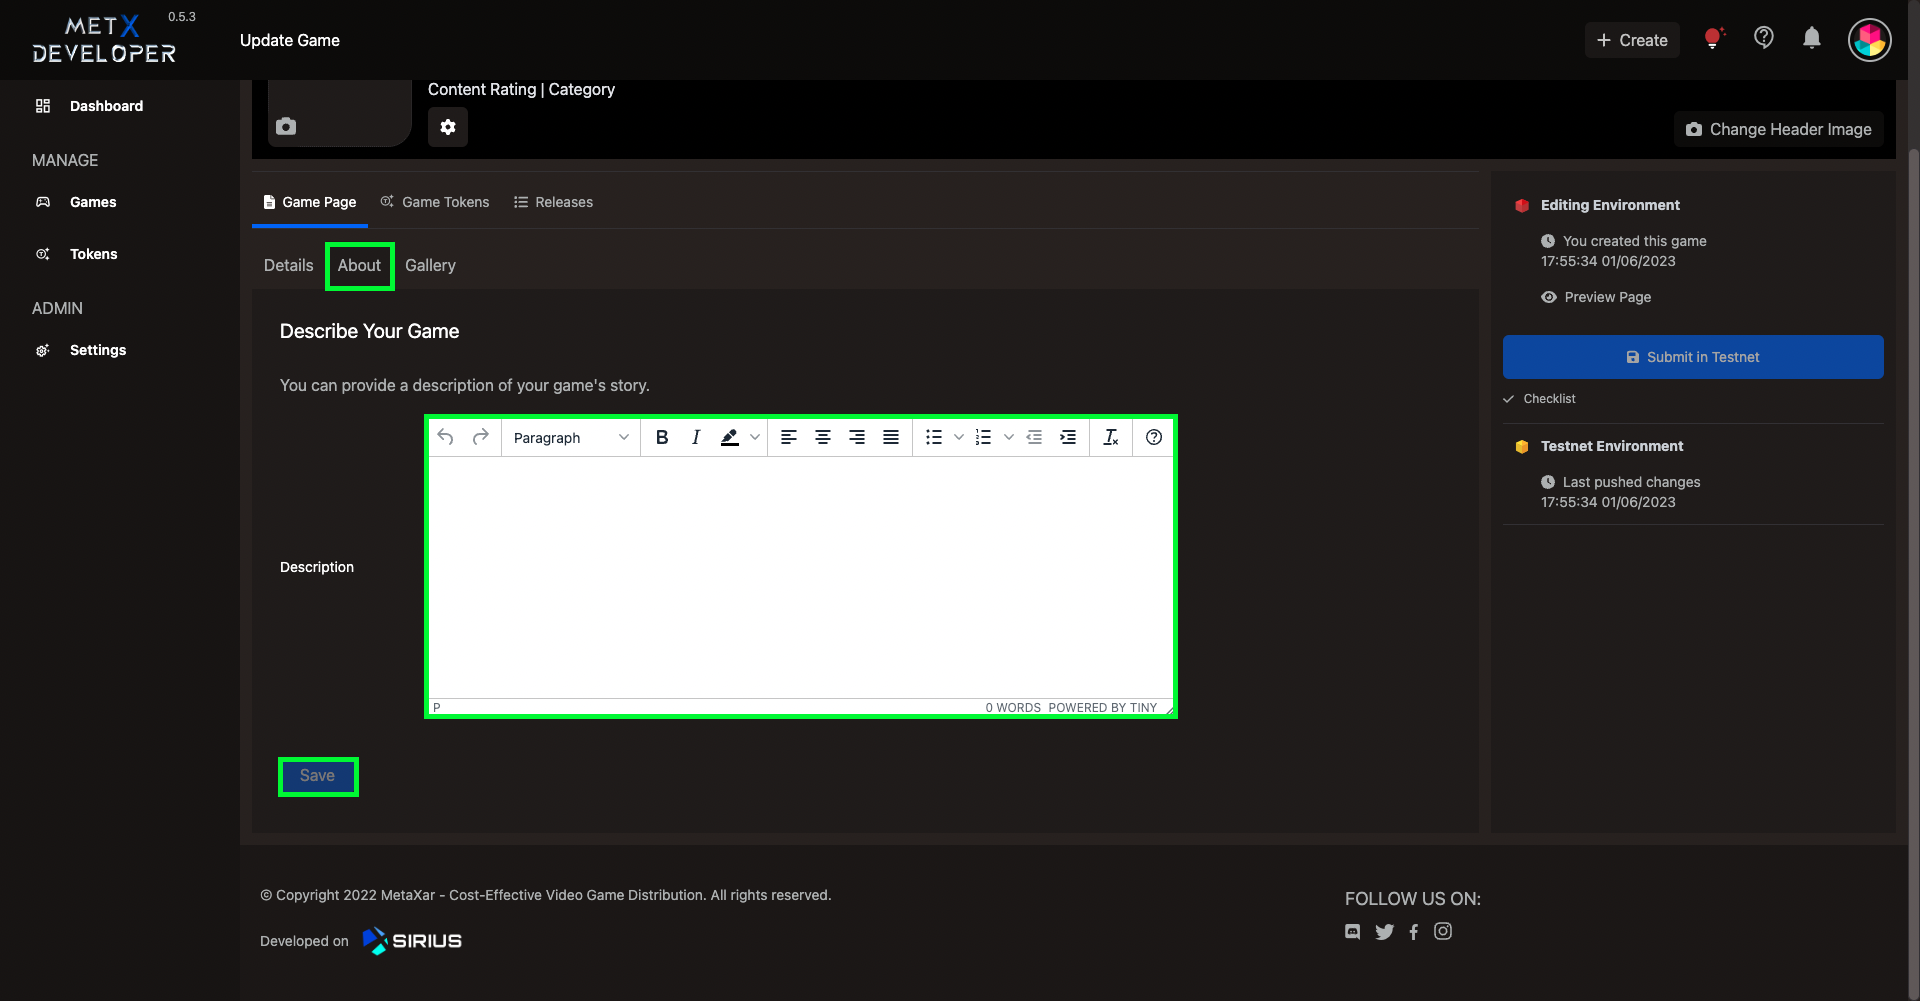
Step 7
- Select the About tab.
- Add a public description for your game.
- Select Save.
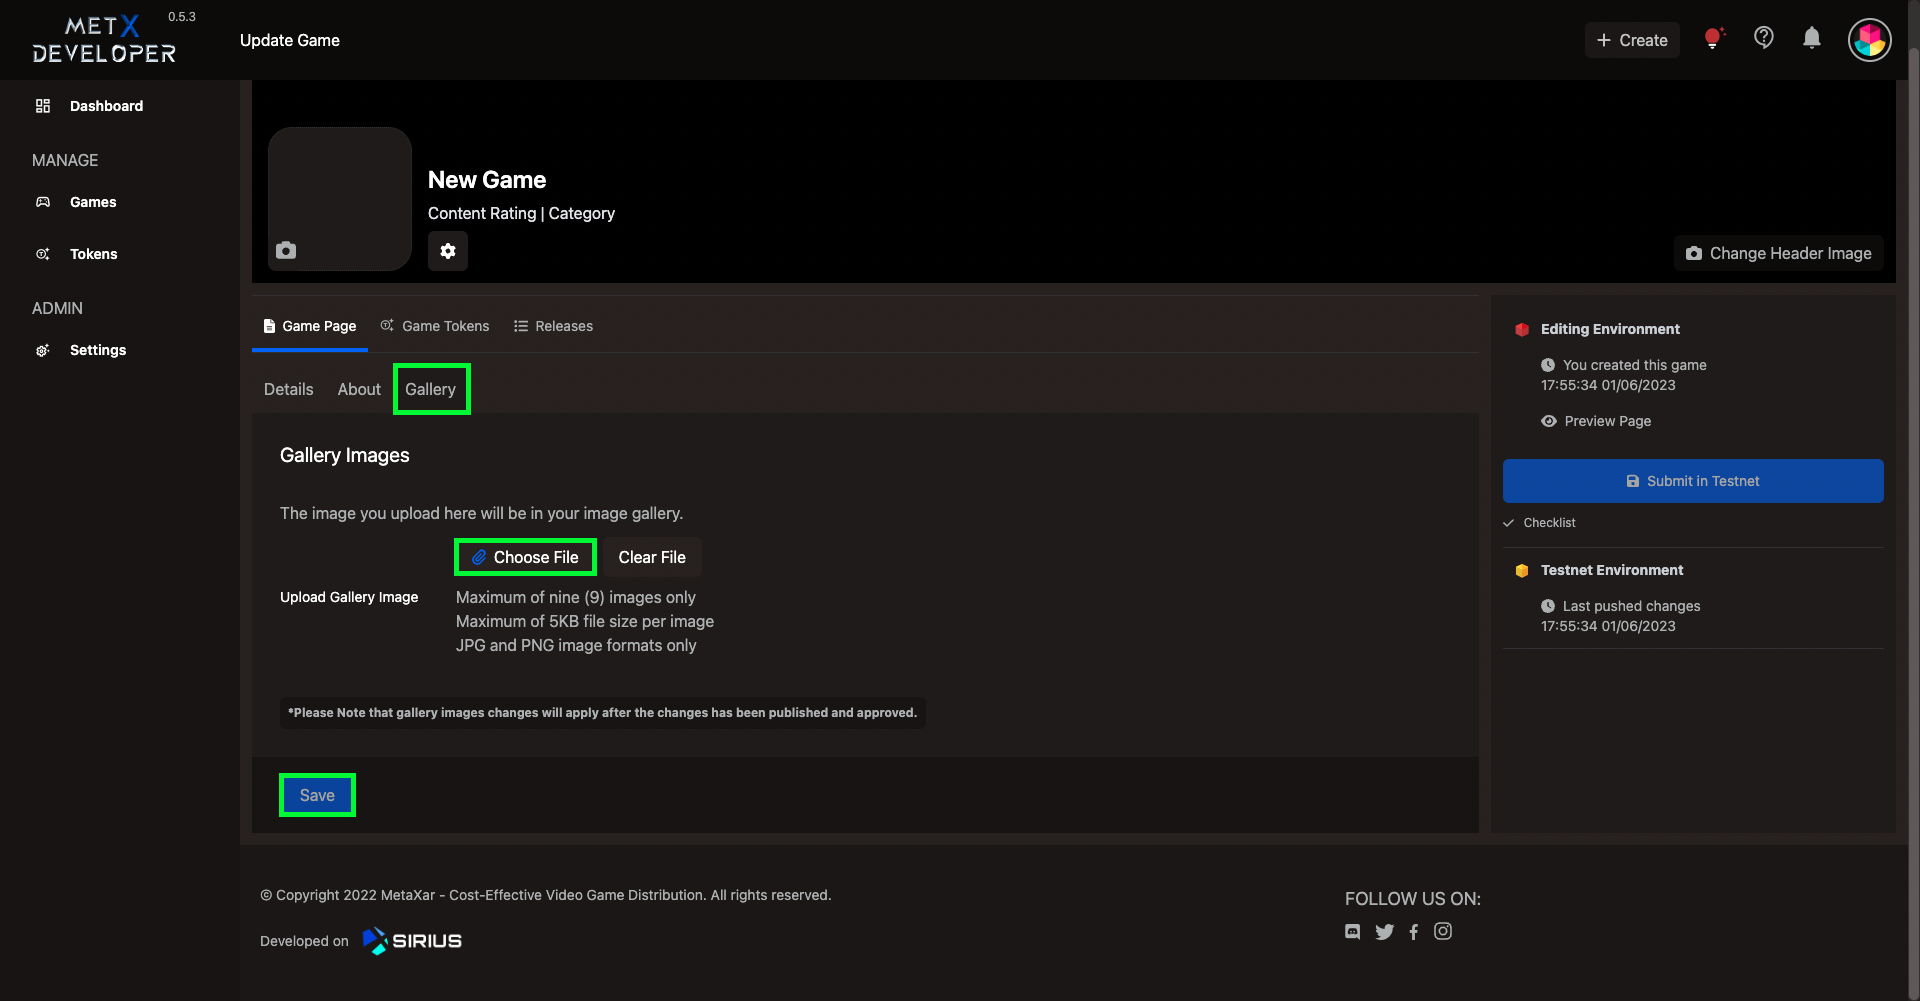
Step 8
- Select the Gallery tab.
- Upload images for your public game gallery.
- Select Save.
Now we are ready to move onto game token creation.